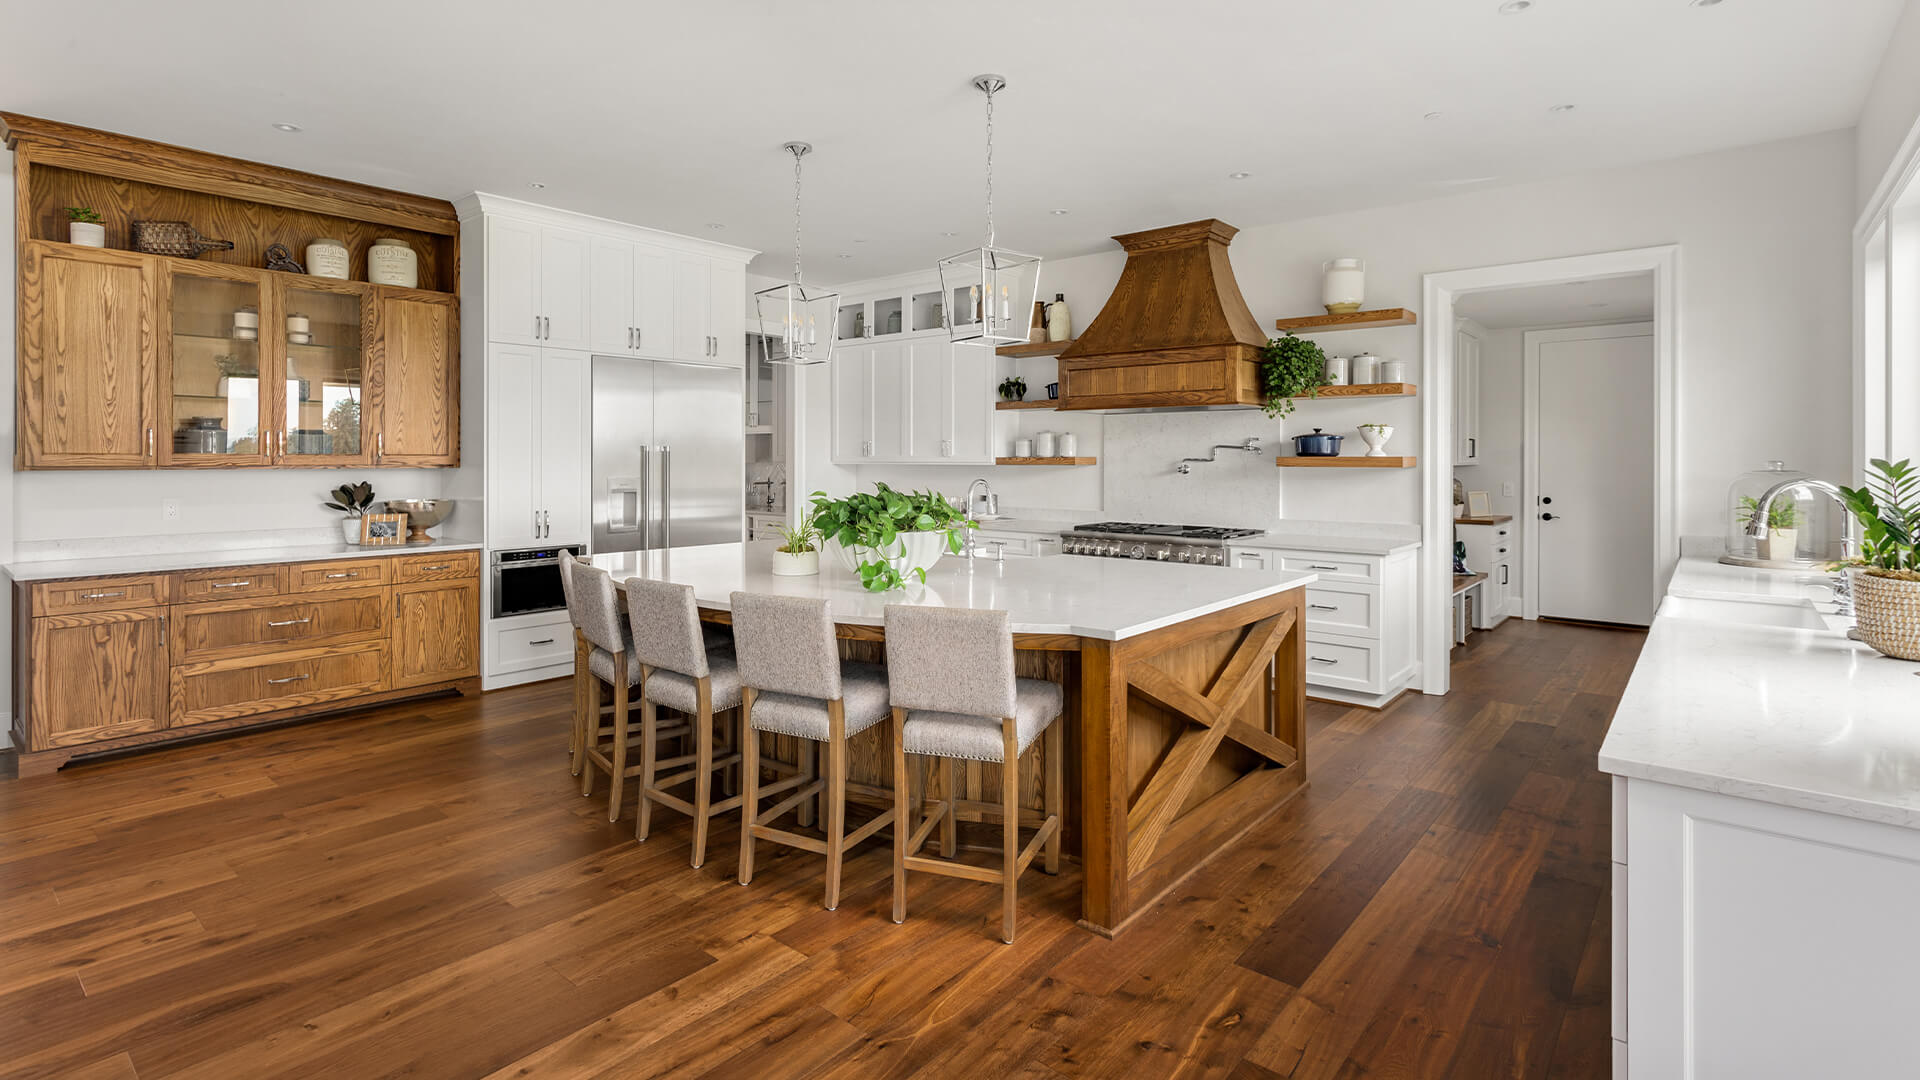
Wooden flooring restorations are as satisfying to watch as they are to do. With more people renovating homes than ever, it’s no surprise that #hardwoodfloor has almost 160M views on TikTok¹. Seemingly, during the 70s and 80s a lot of homeowners chose to cover their existing wood floors with carpet or linoleum, and those taking on renovation projects are now thrilled to be uncovering the forgotten floors.
Experts at Luxury Flooring and Furnishings have offered their top tips for restoring solid wood flooring, along with a homeowner who’s recently carried out a floor restoration project.
Lorna, a Conversion Research Manager from Leeds and her partner recently took up the existing carpets in their home and were lucky enough to find wood flooring underneath:
“All of my Pinterest boards featured wood flooring and we had actually planned on buying some sort of laminate or wood flooring anyway as we knew we liked it. It was a nice surprise when we tore up the red carpet that the original owners had and saw that the floorboards were in pretty good condition!”
“It took us a weekend to restore them; it was pretty easy. It was definitely a dusty job but probably easier than laying new flooring! We did need to enlist the help of parents but we managed to do it all ourselves.”
Laying brand new solid wood floors can be considerably more pricey than undertaking a restoration job – so if you find yourself with existing wood floors, restoring them is a great way to save money when looking to transform your home.
Lorna adds “We’d actually budgeted to spend a lot more as we thought we were going to need to buy new flooring entirely, but restoring the existing originals turned out to be much cheaper. The cost of the sander rental was about £50 for the weekend and the stain/varnish that we applied was about £40.”
Whilst there are lots of tips and guides on social media for those wanting to give their old floorboards a new life, we’ve spoken to the experts at Luxury Flooring & Furnishings to find out the best way to attack a restoration project.
If you want to check what’s hiding beneath your carpets at home, Head of Design, Carolina Hansson shares her tips for restoring your wooden flooring:
1. Be careful with carpets
“If you’re taking up old carpet and suspect that you may have solid wood flooring underneath, you should try to be careful not to damage them in the process. Firstly, remove any carpet strips that may be screwed in under doorways. Lift a corner of your carpet carefully using a pair of pliers or a pocket knife. Underneath you should find a layer of underlay.
Underlay can be fitted in various different ways and it will be difficult to tell how it has been attached to the flooring underneath. When you’re taking up the underlay, be careful not to lift it too abruptly. You should peel it back gently, otherwise you’ll risk damaging the floor underneath.”
2. Sanding the top layer
“Once you’re left with the bare floor, you’ll need to sand down the surface layer to get it looking its best. The best way to go about this is to hire a floor sander which you can use yourself – make sure you have studied its safety advice before use.
Using a coarse sandpaper with the sander, start to work the machine in the direction of the wood grain. Be careful around the edges of the room and work in lines to ensure an even finish. Once you’ve sanded the whole area, repeat using lighter grit sandpaper.”
3. Applying a stain (optional)
“If you’d like a darker finish to your solid wood floor than the result after sanding, you can apply a wood stain to tint it. If you’re doing this, you’ll need to prep the floor by removing any dust or dirt left over from the sanding process.
Once clean, test out your wood stain on a small section of the floor to ensure it creates your desired colour. Then apply a coat of the stain evenly across your wood flooring using a paintbrush and leave it to dry overnight.”
4. The finishing process
“Using a soft brush or roller, you’ll need to apply a polyurethane finish to the floor. This is a really important step as it seals and protects the wood from wear and tear and will give you an even finish.
You should leave this layer to dry for around 4 hours, then apply a second coat. Again, you should leave the floor to dry overnight and you’ll wake up to perfectly finished solid wood floors!”


