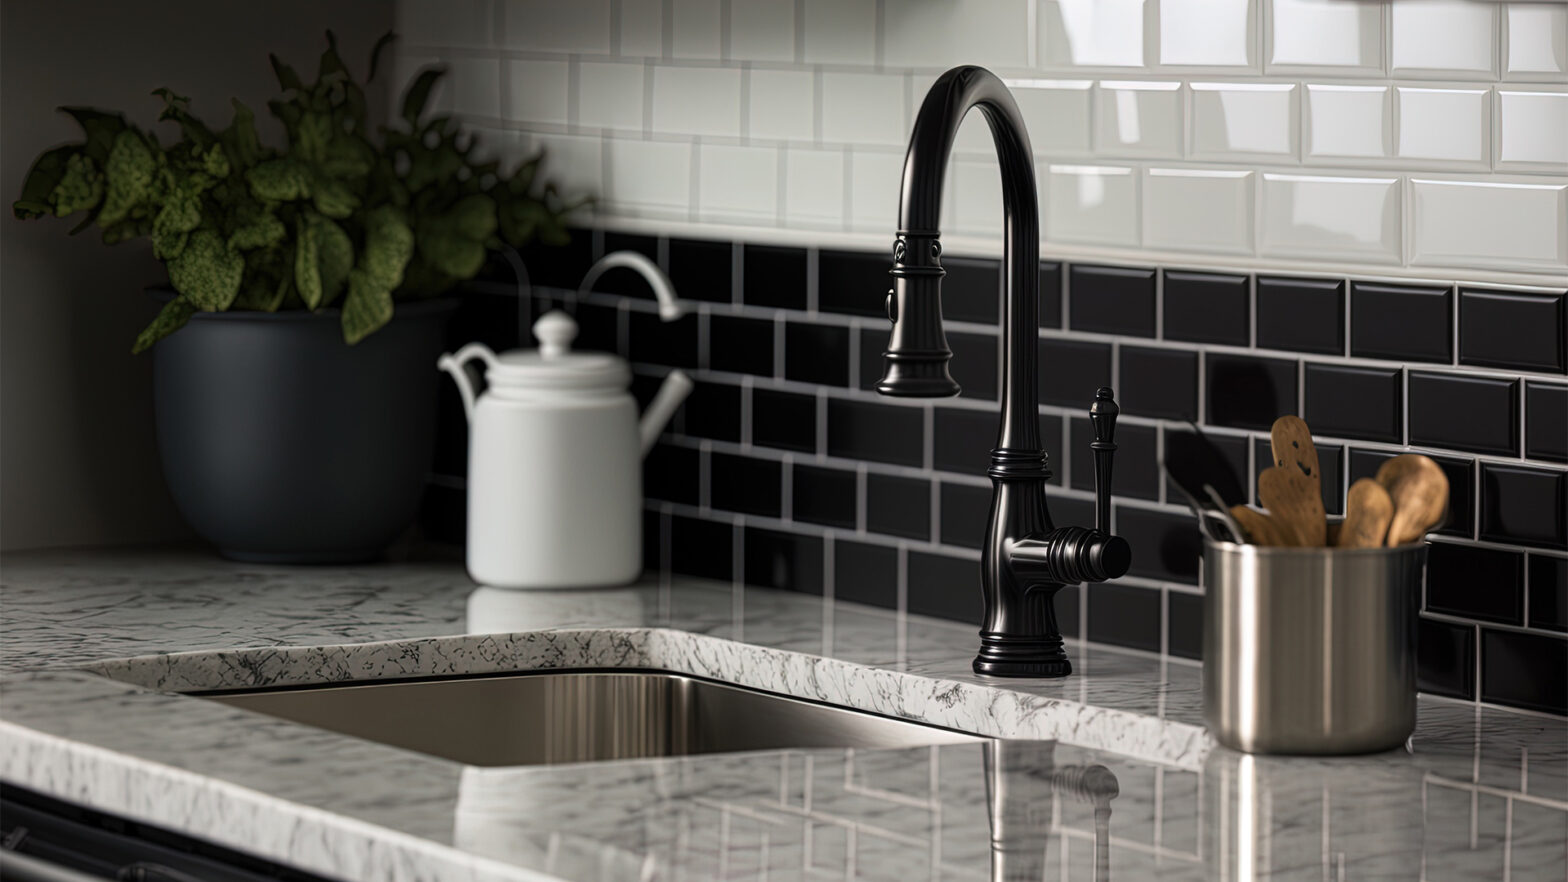
Are you dreaming of a fresh, modern kitchen but flinching at the cost of ripping out and replacing those tired tiles? Don’t despair! Painting your existing tiles is a budget-friendly way to achieve a dramatic transformation in your kitchen. It’s a surprisingly achievable DIY project that can breathe new life into your space without breaking the bank.
Below, kitchen design expert Jessica Evans at PriceYourJob.co.uk has created this guide on how to paint kitchen tiles. By following these tips, you can obtain a professional-looking painted kitchen, instantly improving the appearance of your kitchen without the need to spend a lot of money on brand-new tiles.
Before You Begin: Consider the Suitability of Your Tiles
This method isn’t a one-size-fits-all solution. Avoid painting glazed ceramic tiles, as the paint may struggle to adhere. It’s best for unglazed ceramic, clay, or quarry tiles. If you’re unsure about your tile type, consult a DIY or painting expert. They can also advise on the best paints and primers for your specific tiles.
Gather Your Supplies
- Sugar soap solution
- Heavy-duty scourer or sponge
- Drop cloths or dust sheets
- Masking tape
- High-quality primer suitable for tiles (ensure it’s compatible with your chosen paint)
- Paintbrush (for edges and corners)
- Mini foam roller (for covering larger tile areas)
- Paint suitable for tiles (eggshell or satin finish is ideal)
- Sandpaper (fine grit)
- Ventilation (open windows or a fan)
- Cleaning cloths
- Paint tray
Prep is Key: Cleaning and Degreasing
The success of your paint job hinges on a meticulously clean surface. Kitchen tiles are exposed to a daily barrage of grease, grime, and cooking splatters. Begin by thoroughly cleaning the tiles with a sugar soap solution. This removes not just visible dirt but also any lingering grease that could prevent the paint from adhering properly. Don’t underestimate the importance of this step! give the tiles a good rinse with clean water and allow them to dry completely overnight.
Prime Time: Creating a Strong Foundation
Once the tiles are dry, apply a coat of primer specifically designed for the tiles. This creates a smooth, even surface for the paint to bond to and helps ensure a long-lasting finish. Here’s where your paint tray comes in handy. Pour a small amount of primer into the tray and use the brush to paint intricate areas and edges. Switch to the mini foam roller for larger sections, applying the primer in smooth, even strokes. Aim for a thin layer – it is much better to apply two thin coats rather than one thick one that might drip or leave streaks. Allow the primer to dry completely according to the manufacturer’s instructions.
Lightly Sand for a Flawless Finish
For an extra smooth canvas, lightly sand the primed surface with fine-grit sandpaper. This removes any minor imperfections left behind by the primer and ensures a flawless painted finish. Remember, a light touch is crucial – you don’t want to scratch the primer. Wipe away any of the sanding dust with a clean, damp cloth.
Masking Up: Protecting Your Surroundings
If you’re concerned about paint splatter on surrounding surfaces, apply masking tape around the edges of the tiles, your worktops, and any fixtures you don’t want painted. However, with careful application, this step may not be necessary.
Painting Perfection: Taking Your Time
Now for the fun part! Using your chosen paint for tiles, start with the edges and intricate areas using a paintbrush. Take your time here – neat lines around the edges will make a big difference to the overall finish. Then, with your mini foam roller, apply thin, even coats of paint across the tile surface. It is better to apply multiple thin coats of paint rather than one thick coat that may run or drip. Allow each of the coats to dry completely before applying the next. This drying time is crucial for a durable finish – don’t be tempted to rush the process.
Cleaning Up and Enjoying Your Revamped Kitchen
Once the final coat of paint is dry, carefully remove any masking tape. Wipe away any paint splatters with a damp cloth while the paint is still wet. Marvel at your handiwork. You’ve transformed your kitchen with a fresh coat of paint, breathing new life into your space without the hefty price tag of a full renovation.
Top Tips for Success
- Work in a well-ventilated area and wear gloves to protect your hands.
- Choose a high-quality paint specifically designed for tiles, and don’t be afraid to invest in a good primer – it makes all the difference.
- Don’t skip the priming step – it’s essential for a durable finish.
- Apply thin coats of paint and allow them to dry completely between applications. Patience is key!
- Clean up any spills or splatters immediately.
- Consider adding a touch of personality! Stencil patterns or geometric designs can add a unique touch to your newly painted tiles.
- For an extra layer of protection, especially in high-traffic areas, apply a coat of sealant designed for tiles. This will help to prevent chipping and staining.
Final Thoughts
With a little planning and effort, painting your kitchen tiles can be a rewarding DIY project that saves you money and gives your kitchen a whole new lease of life. So, grab your paintbrush, unleash your inner decorator, and enjoy the satisfaction of a budget-friendly kitchen transformation!


