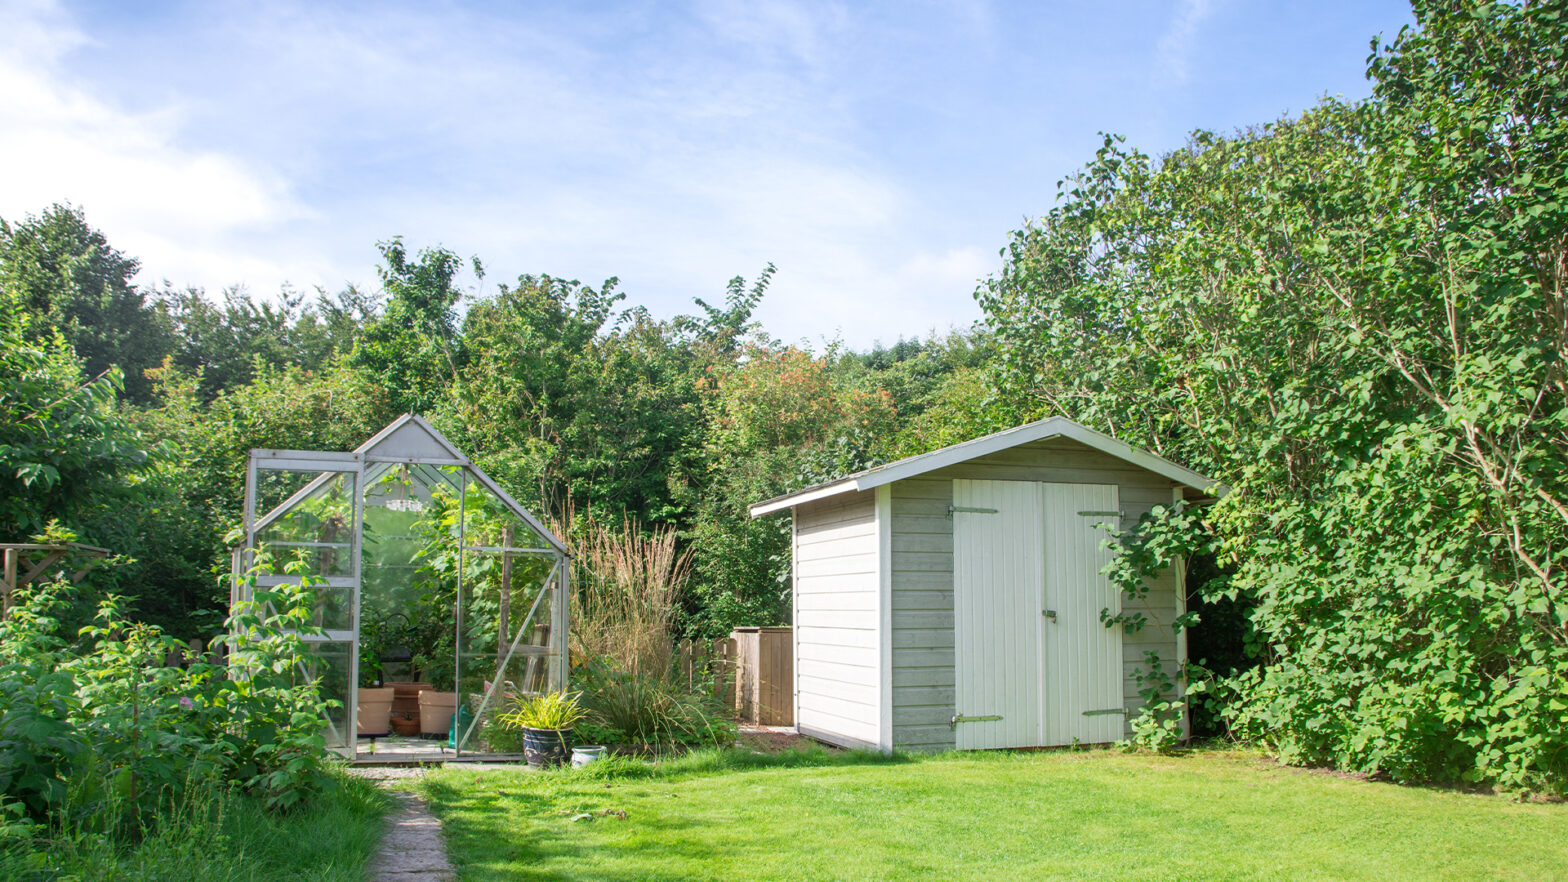
Sheds are often relegated to the backyard wilderness, becoming cluttered storage spaces for forgotten treasures. But with a fresh coat of paint, your shed can be transformed from an eyesore into a charming and functional piece of your garden.
In this article, garden design expert Oliver Johnson at HomeAdviceGuide.com explains how you can transform you shed easily with a bit of paint. So, grab your paintbrush and get ready to transform your shed from a dreary, shabby hut to a beautiful storage solution that you can be proud of!
Before You Get Started
A successful paint job isn’t just about slapping on a coat of colour and calling it a day. It’s about creating a foundation for a beautiful and long-lasting finish. Here’s how to ensure your paint job becomes a masterpiece, not a disaster waiting to peel:
Start With a Clean Slate
The first step is to banish the dirt, grime, and cobwebs that have accumulated over the years. Imagine layers of dust and grime acting as a barrier between the paint and the wood – this is not exactly a recipe for success.
Grab a stiff brush and hose down the exterior of your shed. For stubborn dirt or mildew, a mixture of mild detergent and water can work wonders. Remember, the key is to remove any loose particles that could prevent the paint from adhering properly.
Once you’ve banished the grime, allow the shed to dry completely before moving on. Patience is key here as trapped moisture can cause all sorts of problems down the line.
Address The Imperfections
Now that your shed is sparkling clean, it’s time to take a closer look for any imperfections. Does it have any cracks, holes, or perhaps a loose board or two? These blemishes will become glaring reminders of the past once you apply that fresh coat of paint. So, address them now!
For cracks and holes, use a suitable filler to ensure a smooth and even surface. For any loose boards, replace them to create a sturdy base for your paint job. Once you’ve filled and replaced anything necessary, grab some sandpaper and smooth out those repaired areas. A little elbow grease now will ensure a flawless finish later.
Prime For Success
Primer. It might not be the most glamorous part of the process, but it’s a crucial step that shouldn’t be skipped. Think of primer as the invisible bridge between the surface of your shed and the paint. It helps the paint adhere better, creating a long-lasting and professional finish.
Using the wrong primer, or skipping it altogether, is a recipe for peeling paint and frustration down the line. So, head to your local DIY shop and choose a primer that is specifically designed for the material of your shed. Apply a thin, even coat of the primer to your shed and allow it to dry completely before you get too excited about that first coat of paint.
Painting Your Shed
Now it’s time to paint your shed. Take a look at the tips below to find out how to choose the right paint and how to achieve a professional finish that you can be proud of:
Choose The Right Colour
Now comes the fun part – selecting the perfect colour palette for your shed. This is your chance to unleash your inner artist and transform your once-drab structure into a vibrant focal point or a cohesive extension of your garden.
Consider the overall colour scheme of your house and garden. Do you want your shed to make a bold statement? If so, opt for a contrasting colour that pops against the backdrop of your greenery. Perhaps you’d prefer a more unified look – in that case, lighter colours can create a sense of continuity between your house, garden, and the newly-painted shed. Feeling particularly adventurous? Why not consider colour blocking with two complementary shades for a touch of whimsy?
No matter your preference, remember to choose exterior paint specifically designed for sheds. This type of paint is formulated to withstand the harsh elements and keep your shed looking its best for years to come.
Apply The Paint
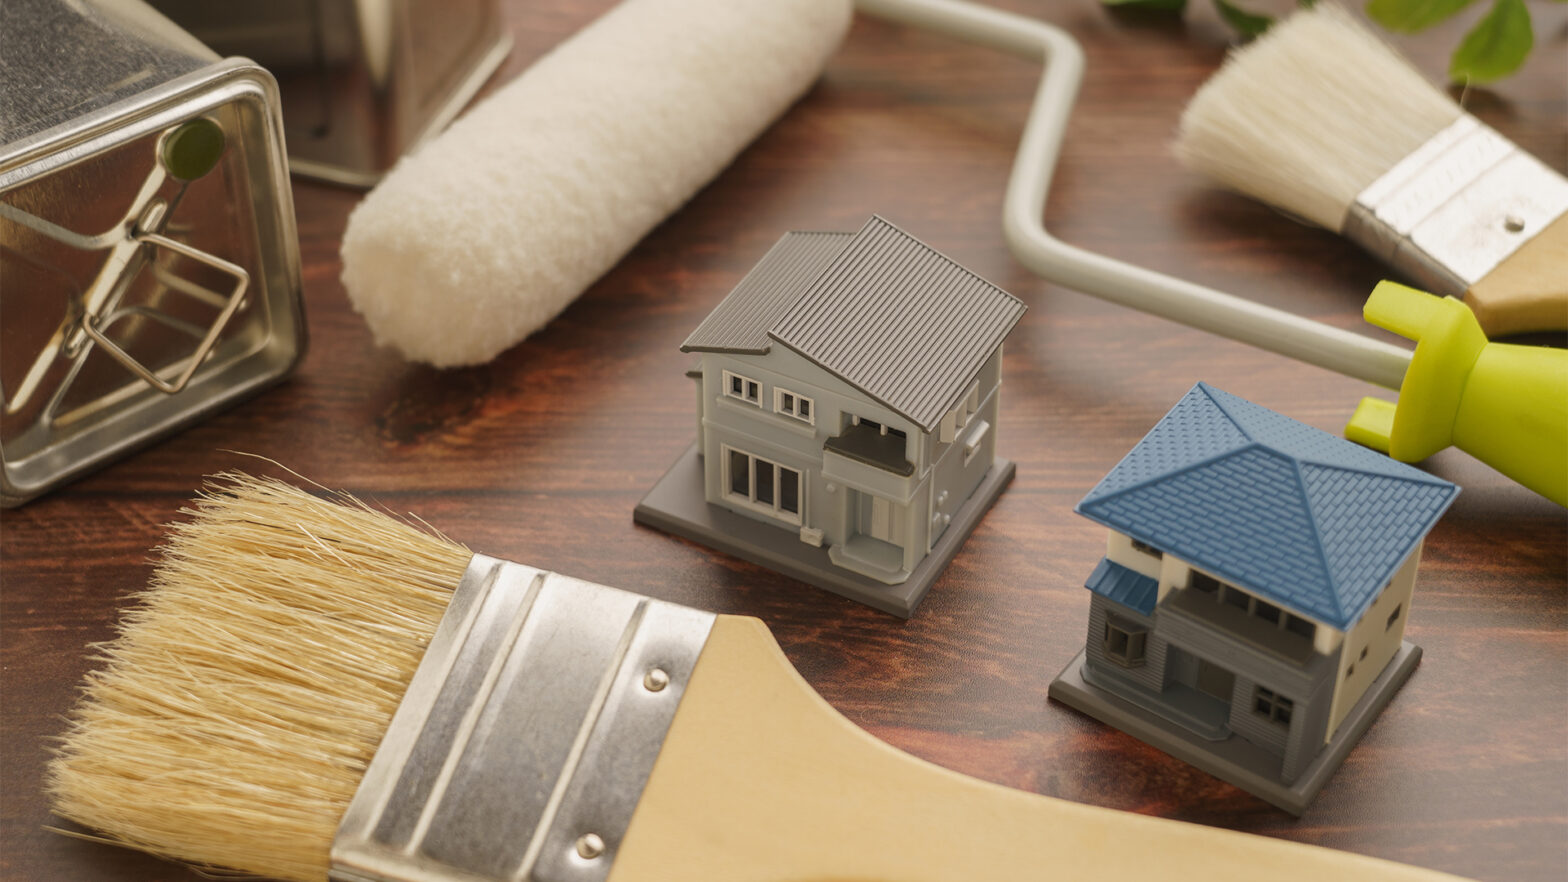
For most sheds, a combination of a trusty paintbrush and a roller will be your best weapons in this battle against blandness. A paintbrush allows you to tackle those detailed areas with precision, like trim, corners, and around windows or doors. For covering larger surfaces quickly and efficiently, a roller is your friend.
Apply the paint in smooth, even strokes, and avoid overloading your brush or roller – a little paint goes a long way, and too much paint in one go will only create drips and unevenness.
Don’t Forget The Second Coat
To achieve the best coverage and a truly professional finish, apply two thin coats of paint. This might seem time-consuming, but it’s worth it. Allow each coat of paint to dry completely before applying the next.
Think of it like building up layers for a strong and beautiful finish. Rushing the process will only lead to a patchy, uneven look that will need to be redone later.
The Finishing Touches
The paint job is complete, and your shed is already looking transformed. Now it’s time to add a few finishing touches. The finishing touches are like the accessories that elevate an outfit from good to great. Here are some tips on applying the finishing touches to your transformed garden shed:
Dress Your Shed
Dress up your shed door with a new handle or knob that complements the paint colour. A contrasting colour for the door will add a touch of personality. Window boxes overflowing with colourful blooms can add a touch of life and soften the edges of the structure. Think outside the box and unleash your creativity!
Accessorise With Purpose
Let’s not forget that while aesthetics are important, functionality is key. Your newly-painted shed shouldn’t just look good, it should serve a purpose. Install shelves, cabinets, or pegboards to organise your stored items. This will not only help to keep everything tidy but it will also make it much easier to find what you need.
If your shed is spacious enough, why not add a comfy chair and side table to create a cosy reading nook? Put up some fairy lights for a touch of evening magic, and you’ve got yourself the perfect hideaway for quiet afternoons with a good book.
For larger sheds, consider adding a small patio area with a table and chairs. This creates a charming outdoor dining space perfect for summer evenings spent enjoying barbecues with friends and family.
Beyond The Paint
While paint is a powerful transformation tool, consider these additional elements to truly elevate your shed and make it a one-of-a-kind feature in your garden:
Play With Patterns
Don’t be afraid to experiment with stencils or geometric patterns for a unique touch. Stencilled flowers climbing the side of your shed can add a whimsical touch, while geometric stripes can create a bold and modern look.
Add Some Greenery
Don’t be afraid to embrace the power of nature. Train climbing vines up the side of the shed for a natural, rustic look. Climbing roses with their fragrant blooms will not only soften the lines of the structure but also provide a delightful sensory experience.
Don’t Forget About Lights
Solar-powered outdoor lights are a fantastic way to illuminate your shed at night and enhance its visual appeal. String lights draped across the eaves or strategically placed lanterns can create a magical ambience, perfect for evening gatherings or simply enjoying the peace of your garden after dark.
Final Thoughts
With a little planning, some elbow grease, and a bit of paint, you can transform your neglected shed from an eyesore into a charming and functional space that complements your garden and adds value to your property. So, unleash your inner artist, grab your brush, and get ready to see the incredible transformation of your once-forgotten shed so that it can become a source of pride and enjoyment for years to come.


